Button Box
Traduction: [ Google | Babelfish ]
Catégories : [ Bricolage ]
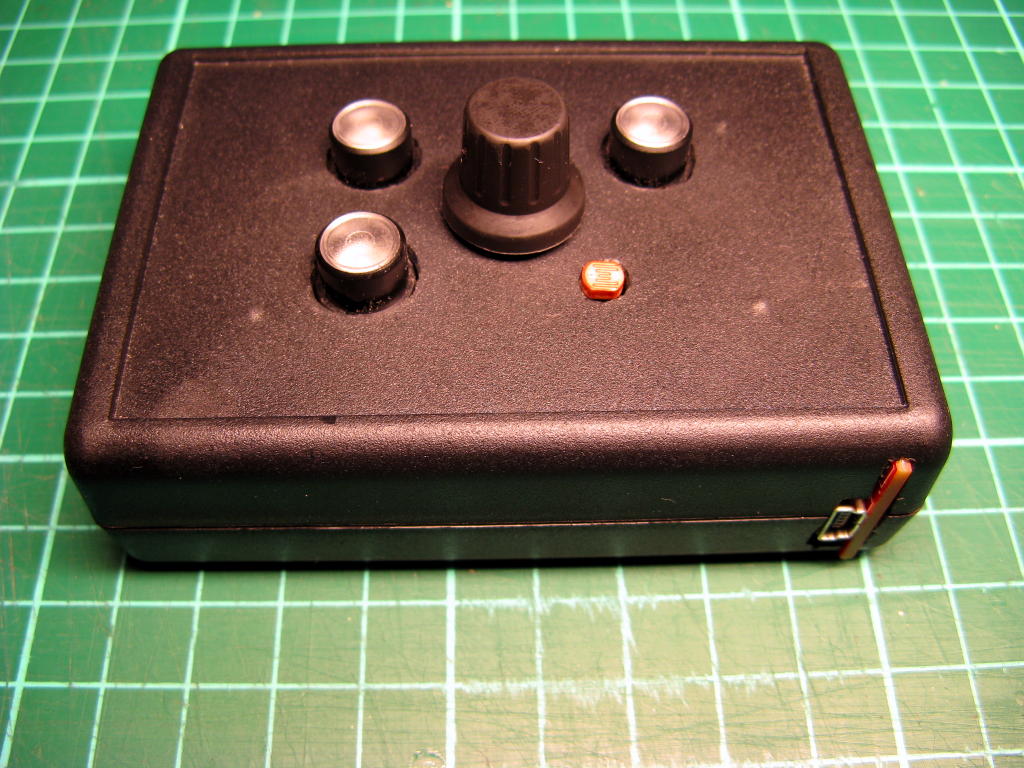
Here's the Button Box. It has three illuminated push-buttons, one knob (which also acts as a push-button) and one light-dependent resistor (the small thinggy on the lower-right corner) which are controlled by an RBBB microcontrller (software-compatible with the Arduino). Here's the control software.
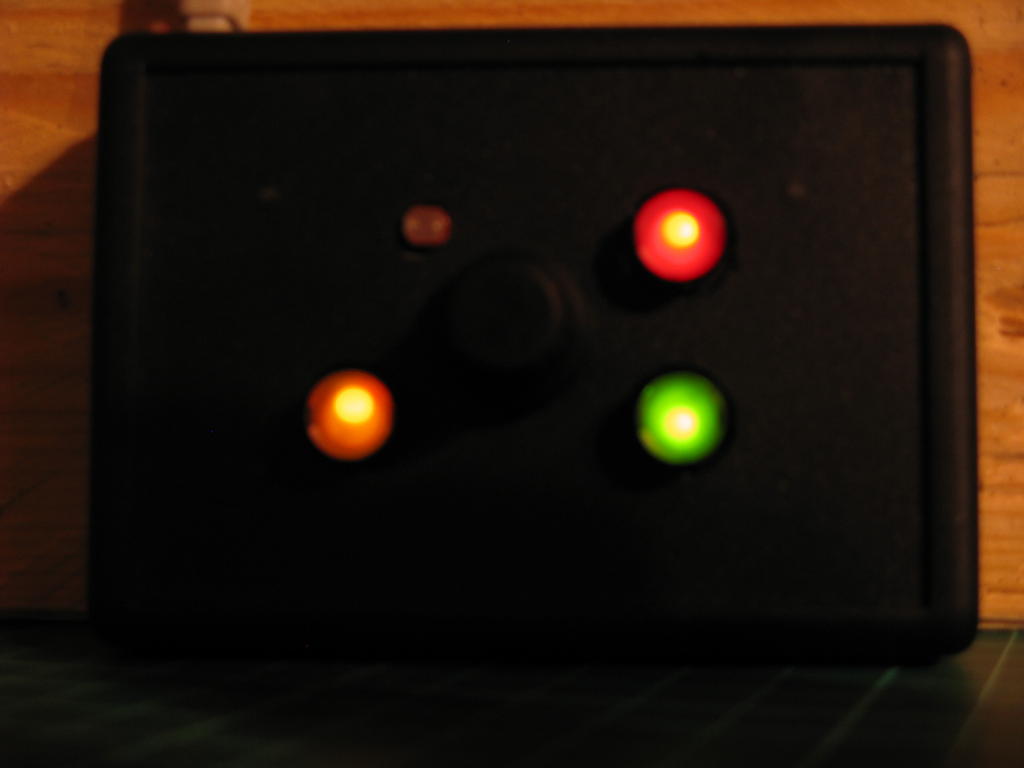
The push-buttons contain each one bi-color LED (red-green); its color depends on the direction of the current. Each LED which is controlled using PWM, which allows to quickly reverse the direction of the current and create the illusion of a yellow/orange color. Moreover, the Box senses the amount of ambient light (with the light-dependent resistor) and adjust the intensity of the light depending on that: by night, the LEDs are on only 1/64th of the time, while in daylight they are on at 100%, making them more visible.
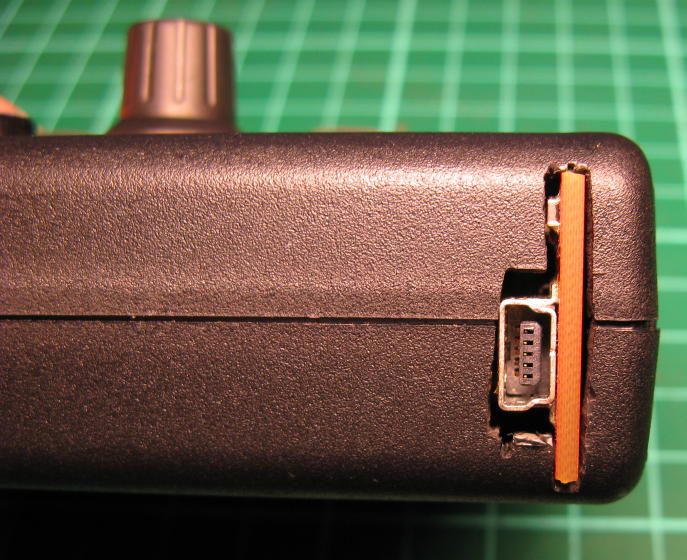
It connects to the computer through a serial-to-USB adapter. It's a bit ugly like that, but who cares.

The current through the LEDs is limited by a 150 Ω resistor. The push-buttons use the microconstroller's internal pull-up resistors. The light-dependent resistor (rated 4 – 11 kΩ, whatever this exactly means) forms a voltage divider with a 1 kΩ resistor, and its value is read by one of the analog inputs of the microcontroller.
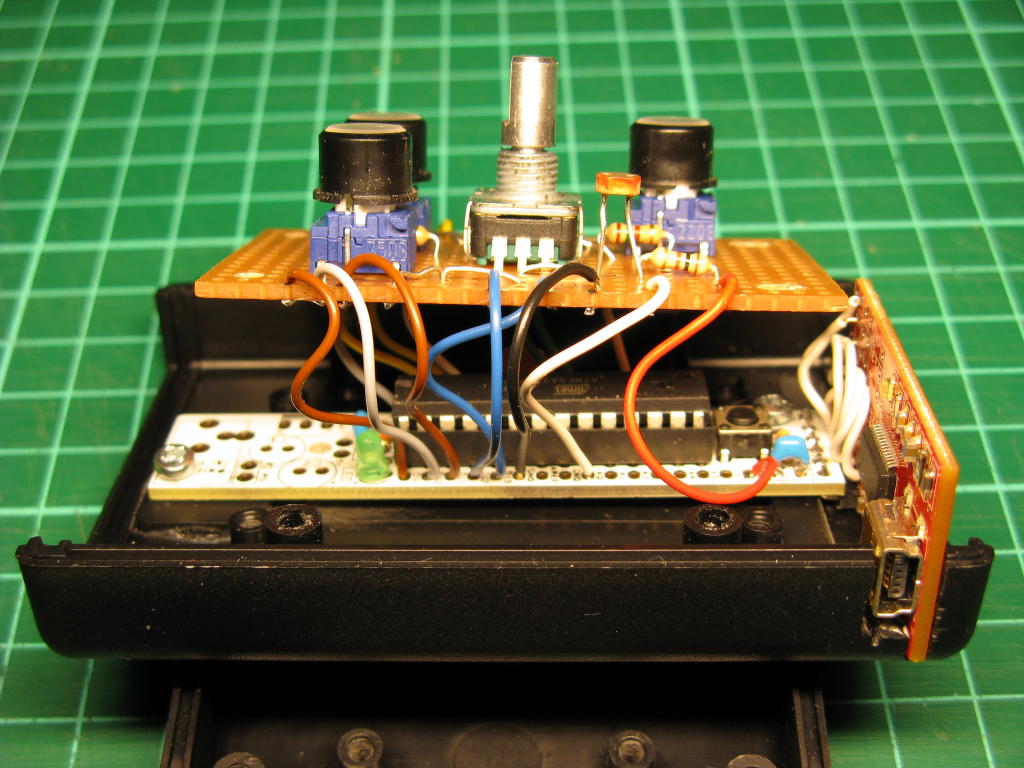
The white PCB is the RBBB, which is powered by the USB-BUB (serial-to-USB adapter, based on an FTDI chip). It's not the cheapest solution, but those components were the easiest to obtain.
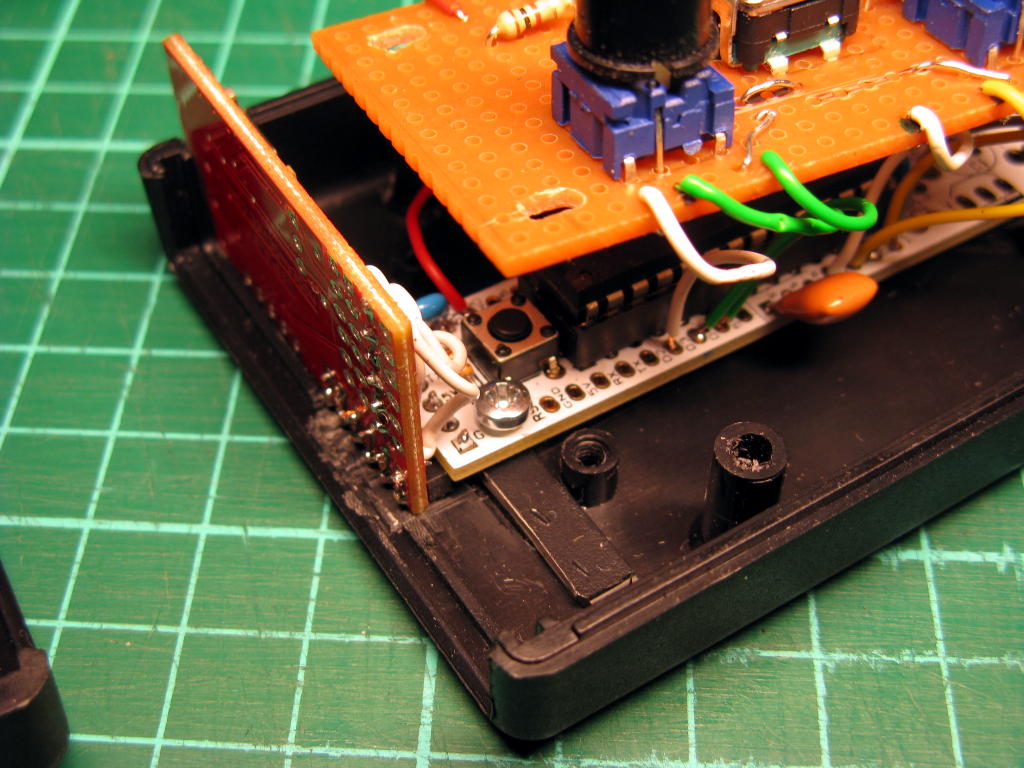
The USB-BUB has its outputs rewired to the row of holes along its side, and is soldered sideways to the RBBB using a row of pin headers. The RBBB is then screwed through one ready-made hole to the bottom of the box through an additional piece of plastic glued (with cyanoacrylate glue) to the bottom. This gives a thickness of almost 5 mm which is enough to hold the screw (a bit thicker would have been better). The same is done to the other end of the RBBB which has a similar hole. This holds the USB-BUB enough for the USB cable to be inserted and removed.
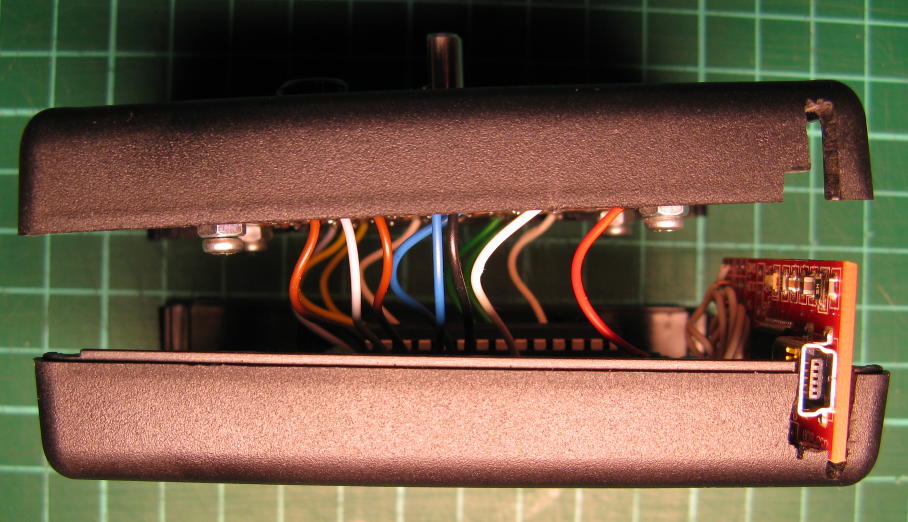
Side view. ABS project boxed are nice, because they are easy to drill and cut through with a hacksaw or even with a knife for smaller details.
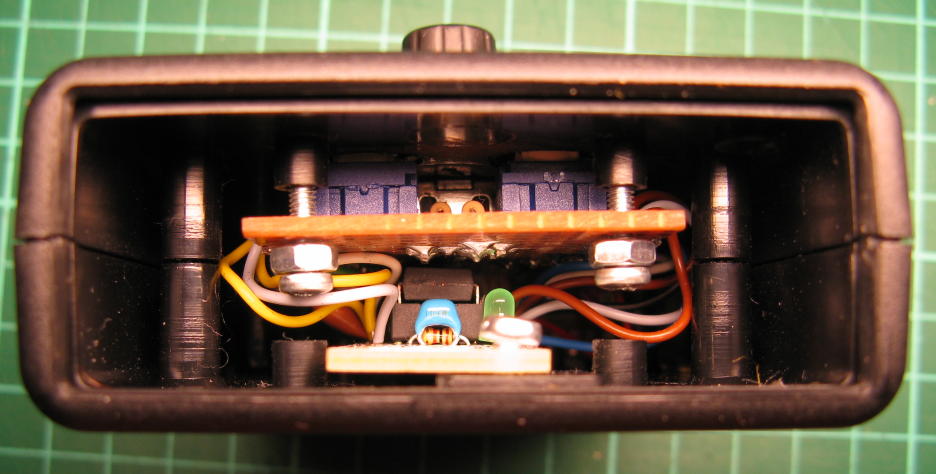
Inside view with the side walls removed. It's quite tight inside, but it fits nicely.
[ Posté le 12 février 2011 à 23:04 | 3 commentaires | lien permanent ]


That's nice but what does it do? ;)